![]()
1. Set the location bar at 00;00;31;00
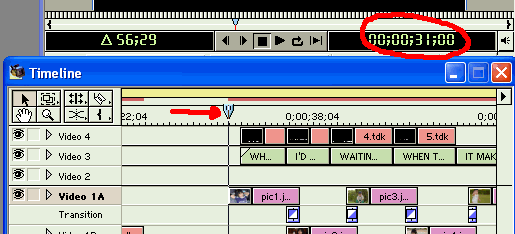
2. Double-clicking the yellow bar to set the work area

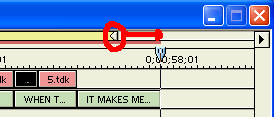
3. Move the left arrow to the right until it snaps to the location bar.

4. Set the location bar at: 00;00;56;28. This is the end of your project.
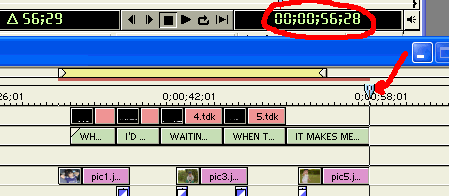
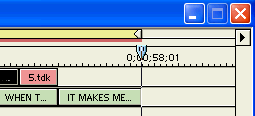
5. Move the end of work area to the right until it snap to the location bar's time
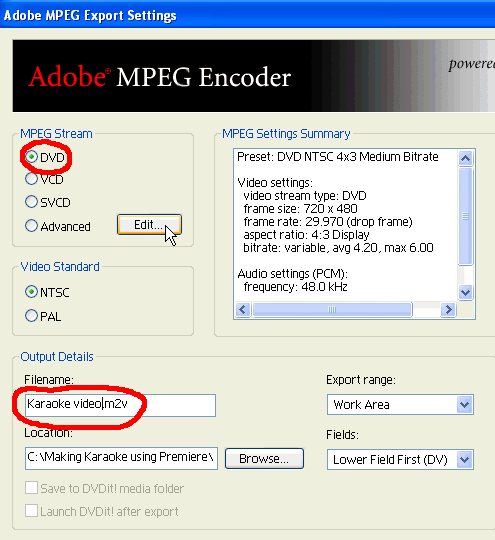
6. Click File/Export Timeline/Adobe MPEG Encoder...

7. Select DVD for MPEG Stream. Type "Karaoke
video.m2v" for the Filename. Click
![]()
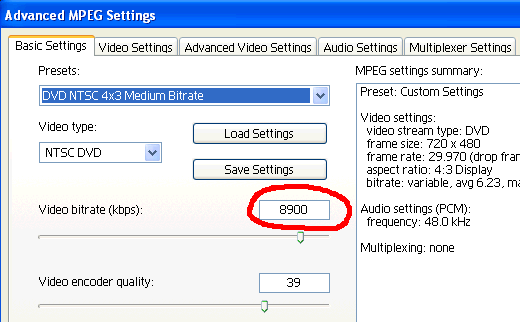
8. We will use AC3 because of a small size compares to wave. This allow us to use higher video bitrate for best quality.
For example:
Total bitrate = video bitrate + (1st audio bitrate + 2nd audio bitrate) = 9.8Mbps
9.8Mbps = video bitrate + (.448 + .448)
video bitrate = 8.9Mbps = 8900Kbps
We will use 8900
Note: some of standalone DVD player might have problem play this high video biterate.
Type 8900 for Video bitrate(kbps).
9. On the Audio Settings window, select 48000 and PCM.

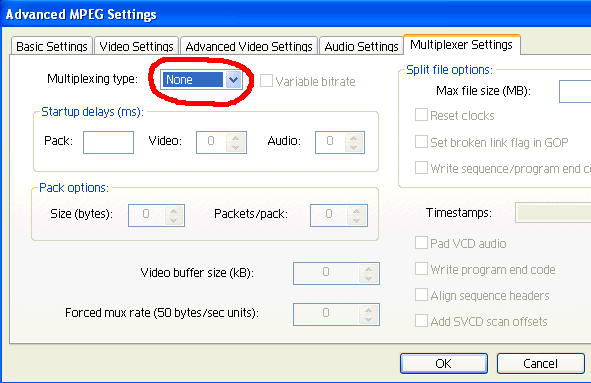
10. On the Multiplexer Settings page, select
None. Click
![]()
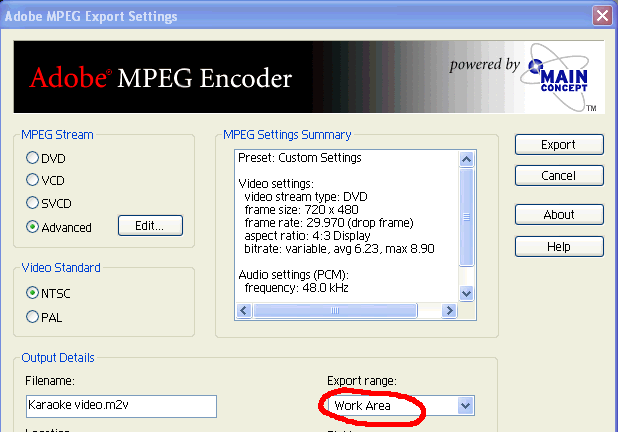
11. Select Work Area for Export range, then
click ![]()
When finish, you should have Karaoke video.m2v and karaoke video.wav
12. Now we will export Music without vocal track.
Click ![]() on
the Audio 1 track to mute. Then click on the Audio 2 track to show
the
on
the Audio 1 track to mute. Then click on the Audio 2 track to show
the ![]() icon.
icon.

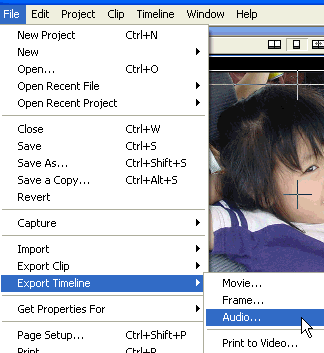
13. Click File/Export Timeline Audio
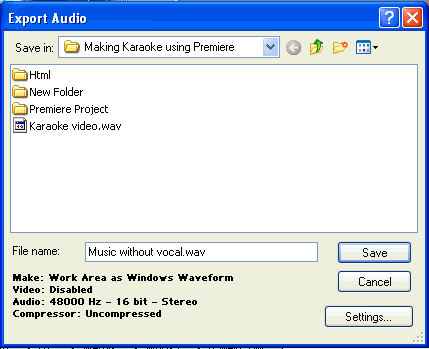
14. Type "Music without vocal.wav". Click
![]()
15. Select Work Area for Range, then click
![]()
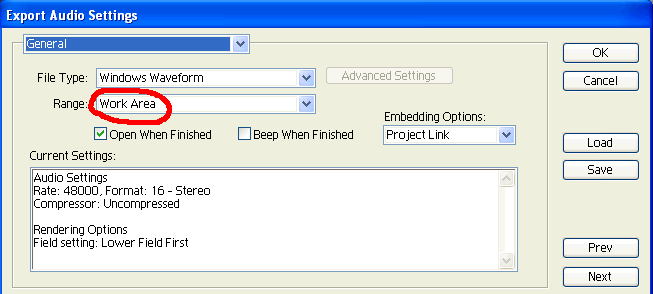
16. Your setting should be the same as below. Click
![]()

17. Click
![]()
